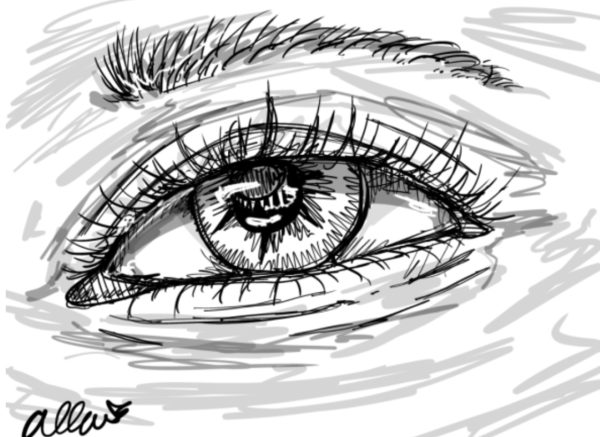
Hi! Welcome to Allie’s art corner. I’m going to teach you how to draw a realistic human eye. Please feel free to email me with your art at [email protected]
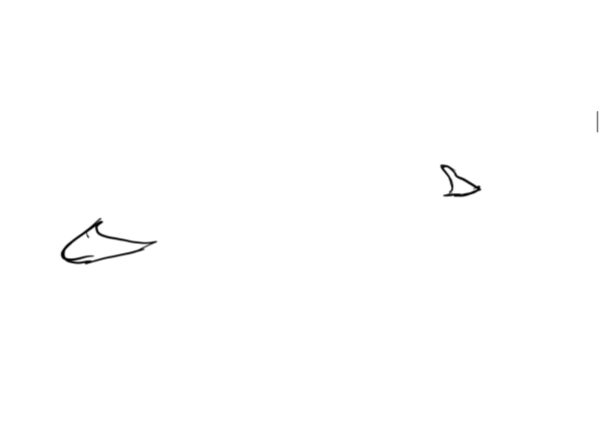
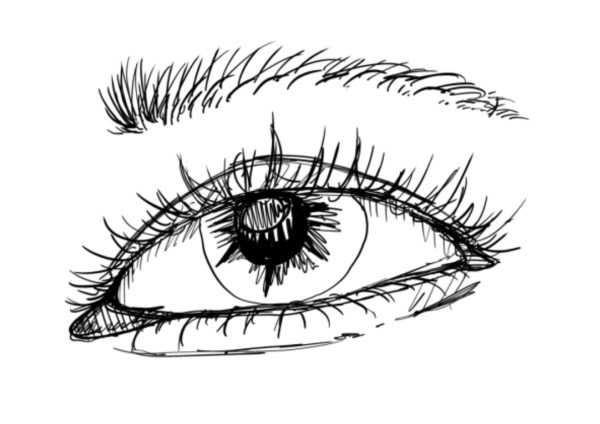
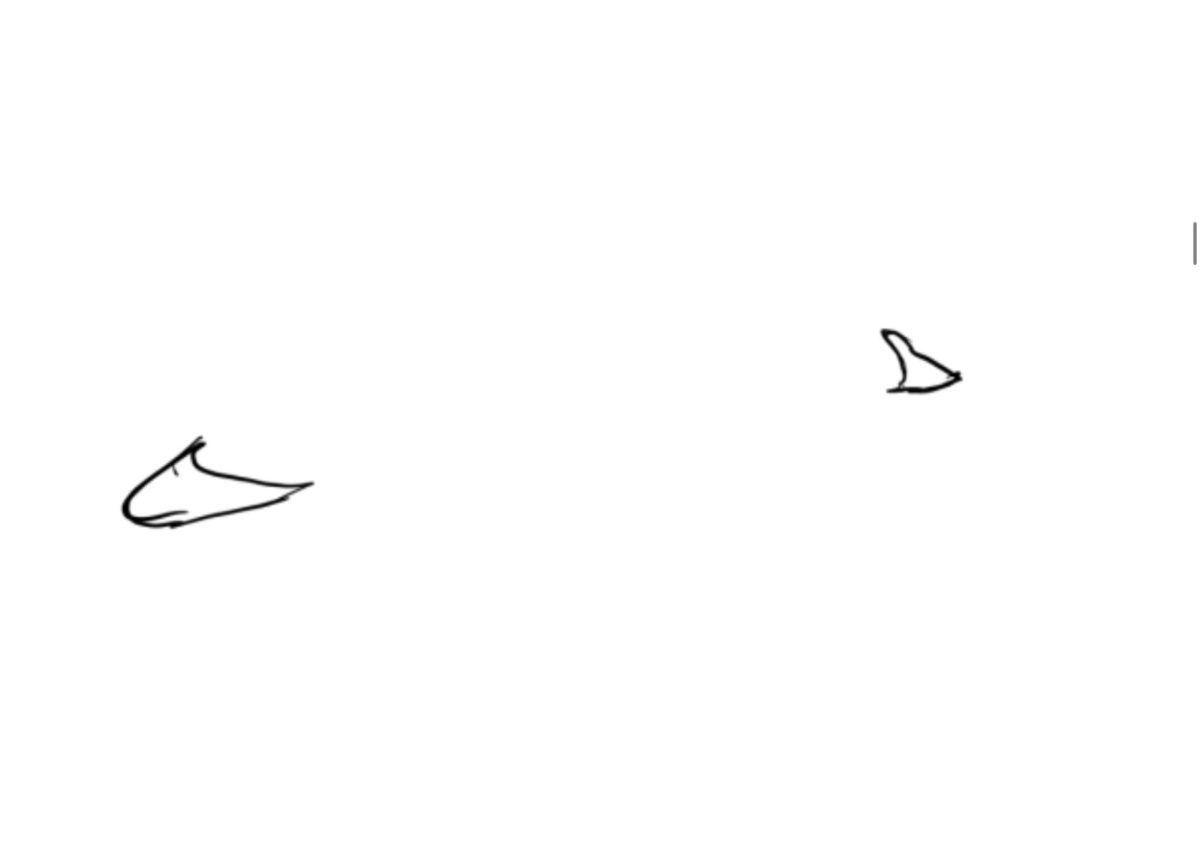
First you’re going to start with two triangle shapes, one larger and more circular and one smaller and more triangular as shown below.
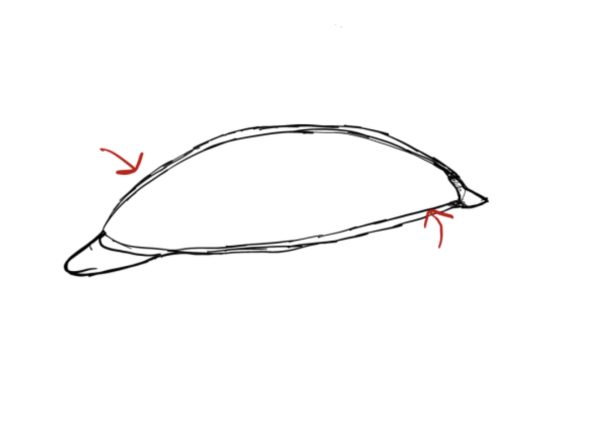
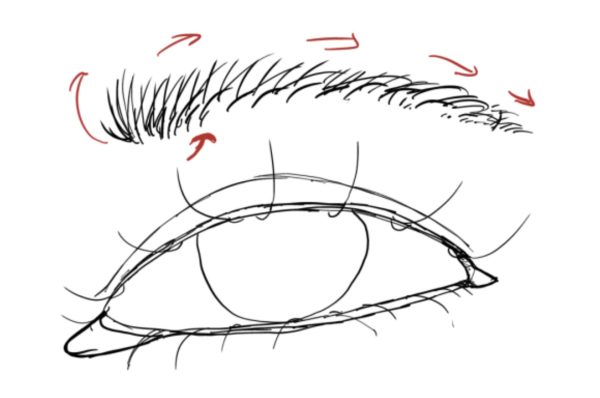
Connect these shapes using curved lines, and leave an open gap between them, as shown by the red arrows. These are where the eyelashes are going to go.
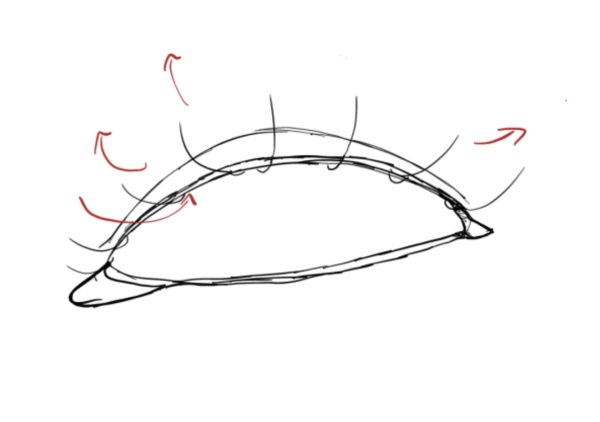
Add an upper eyelid with a curved line, then start the lashes. Lashes start from that small space you originally created and curve up and away as shown by the arrows. These follow the pattern shown below, as they face opposite each other on either side of the eye. Don’t forget lashes in the corners of the eye, however, these should be smaller and less noticeable.
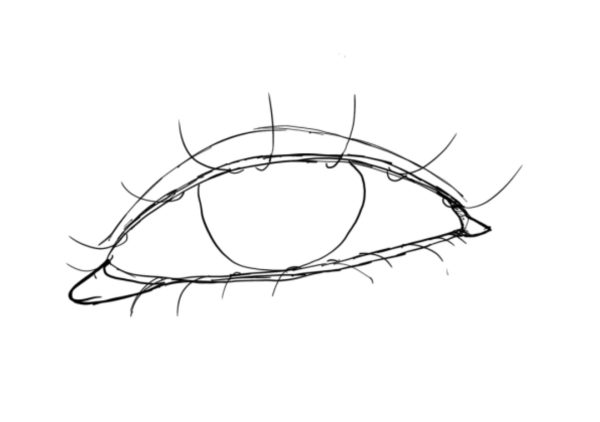
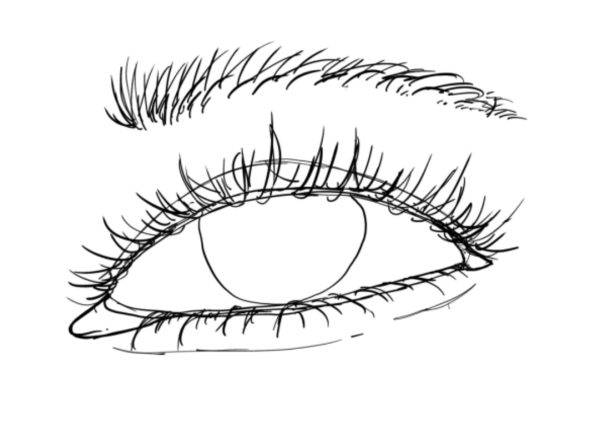
Now, do the same with the bottom lashes, but keep in mind that these are much smaller than the upper lashes.
Next, use a circular shape to make an iris. This shape should be curving out from the upper lid and should NOT be a full circle.
Now, we begin the eyebrow. Draw one inner curved line, and one smaller curved line on either side of the eye just above the tips of the lashes.
Begin to draw the eyebrow hairs. The first few hairs should be perturbing out just a bit and should be shorter. Begin the rest, keeping in mind that eyebrow hairs slowly take a downward motion as they begin to set on the brow. Don’t forget to draw small hairs as indicated on the edge of the brow for additional detail.
Add more lashes to thicken up the eye, and add a lower eyelid with two curved lines just below the bottom lashes.
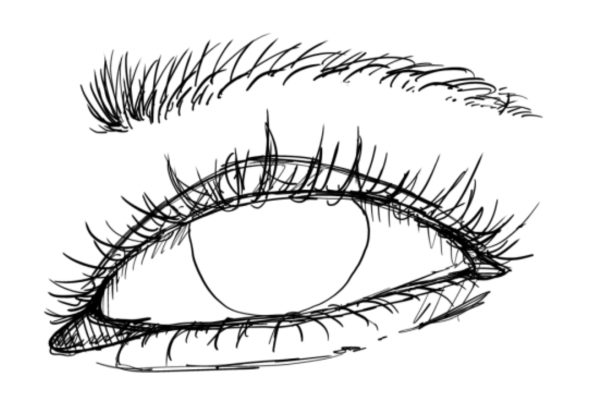
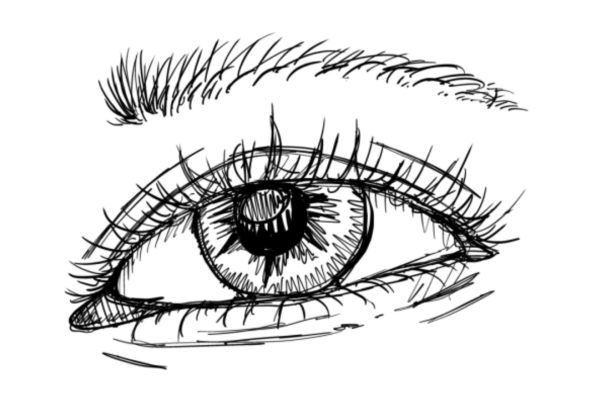
Next, darken the two triangles you started with, and darken the inner edges of the eye. However, don’t color them in. Instead, use slanted vertical lines to create a shaded effect, and add darker lines if you want something to stand out more.
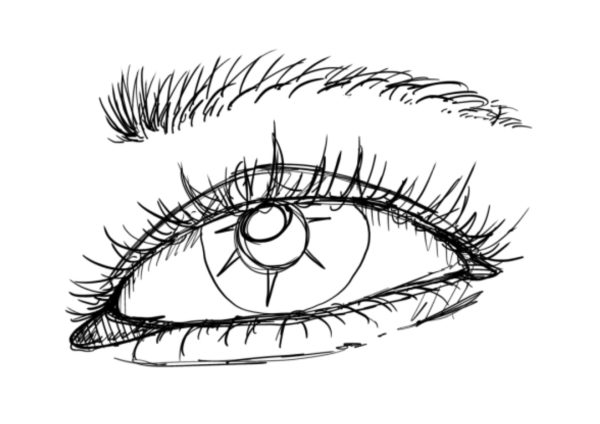
In addition, draw a circular shape slightly off centered in the upper of the iris. Circle the upper part of it, and then add longer ray shapes on the outside, like a spiderweb.
Darken the circle in the middle and lightly shade the upper part of the pupil. Connect the rays and darken them with light shading as shown below.
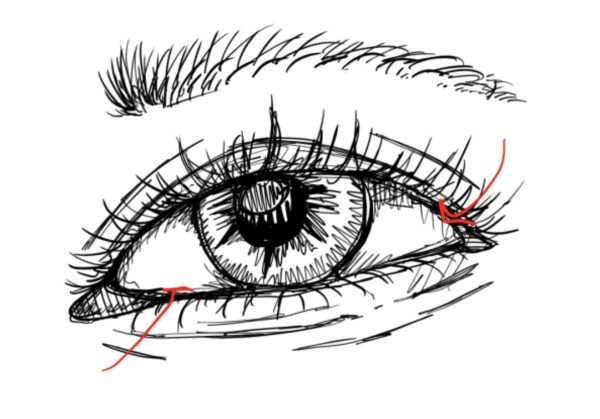
Now, add additional shading as the arrows point to. Add some on the outer of the Iris, and then some surrounding the Iris itself to add depth. Don’t use thick lines, just light chicken scratch like lines to indicate depth without calling it out too much. If you’re using pen and paper, feel free to use your finger to create a smudge effect.
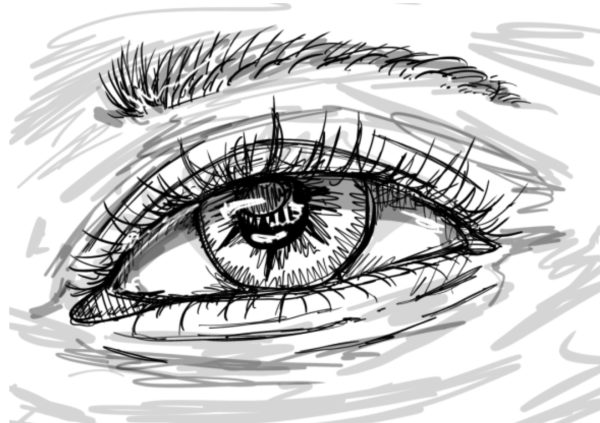
Add external shading with a lighter color, and deepen the brow with dark shades behind it. The shading should more or less follow the shapes of the eyelids. Shade the eye under the lashes, and add light or white highlights to the iris and the brow too, if you please.
Add your signature to let others know it’s your art, and get ready to share your new masterpiece!
There you have it! How to draw a humanoid eye- one of the first lessons you’ll learn at any art school. Take your drawing and share it to others, and teach them how to draw an eye too!
